If you’re building a small business website, WordPress is still the fastest way to go from “idea” to “online and ready to sell.”
This guide shows you exactly how to install WordPress on cPanel, connect your domain, activate SSL, and do the essential setup that prevents most beginner problems (slow speed, “Not Secure,” messy URLs, and plugin chaos).
What you’ll achieve (in plain English)
A working WordPress site on your domain
HTTPS / SSL enabled (no “Not Secure”)
Clean settings (SEO-friendly URLs, correct site name, basic security)
A simple launch checklist for small businesses
Quick Start (the shortest version)
If you want the fast path, here it is:
Get domain + hosting with cPanel
Point your domain to your hosting (nameservers or DNS records)
Install WordPress (Softaculous / WordPress Manager)
Enable SSL + force HTTPS
Set permalinks + install only essential plugins
Publish core pages (Home, About, Services, Contact, Privacy)
If you want the full step-by-step, keep reading.
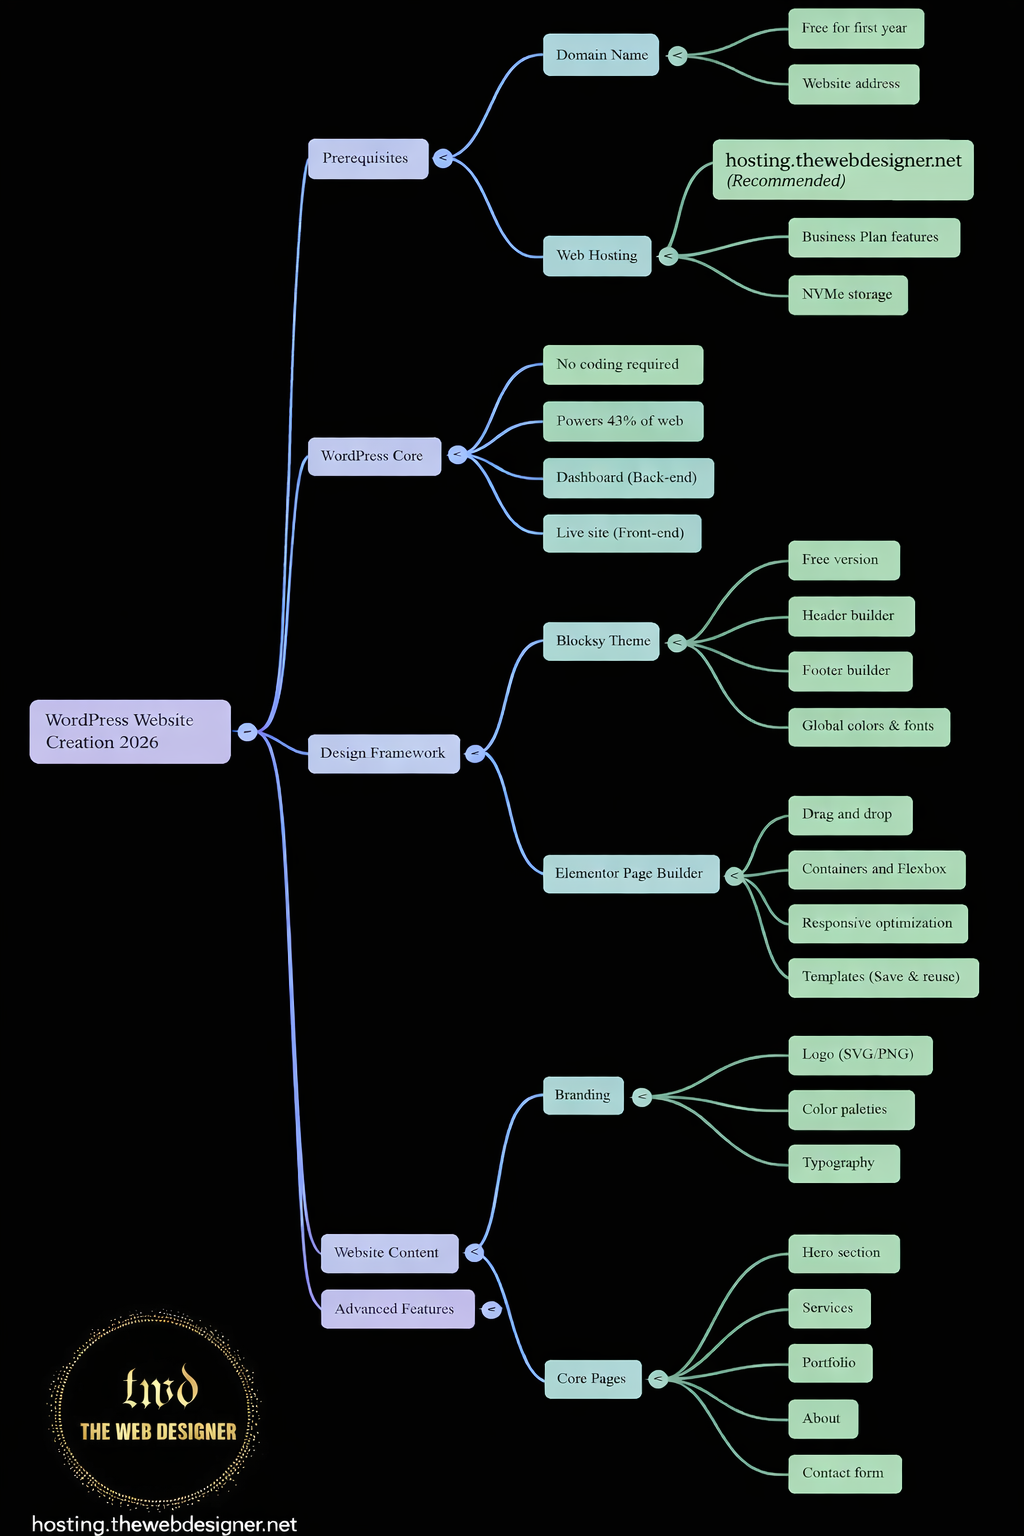
Step 1: What you need before installing WordPress
To install WordPress on cPanel you need:
A domain name (your brand address, e.g. yourbusiness.com)
Web hosting with cPanel access (where WordPress lives)
SSL certificate (so your site loads securely with HTTPS)
If you want to keep everything simple (domain + hosting + SSL in one place), start here:
https://hosting.thewebdesigner.net/
Step 2: Connect your domain to your hosting (DNS)
This is the #1 place beginners get stuck, so don’t skip it.
You have two common options:
Option A: Change Nameservers (easiest)
If your hosting provider gives you nameservers, you update them at your domain registrar.
Nameservers often look like:
ns1.yourhost.comns2.yourhost.com
After changing nameservers, you usually wait for DNS to propagate (can take minutes up to 24–48 hours).
Option B: Keep your domain where it is (advanced)
If you don’t want to change nameservers, you can point specific DNS records:
A record → your server IP
CNAME for
www→ your root domain
Tip: If you’re not sure which option you used, check your domain’s DNS panel. If you see nameservers you changed—Option A. If you see A/CNAME changes—Option B.
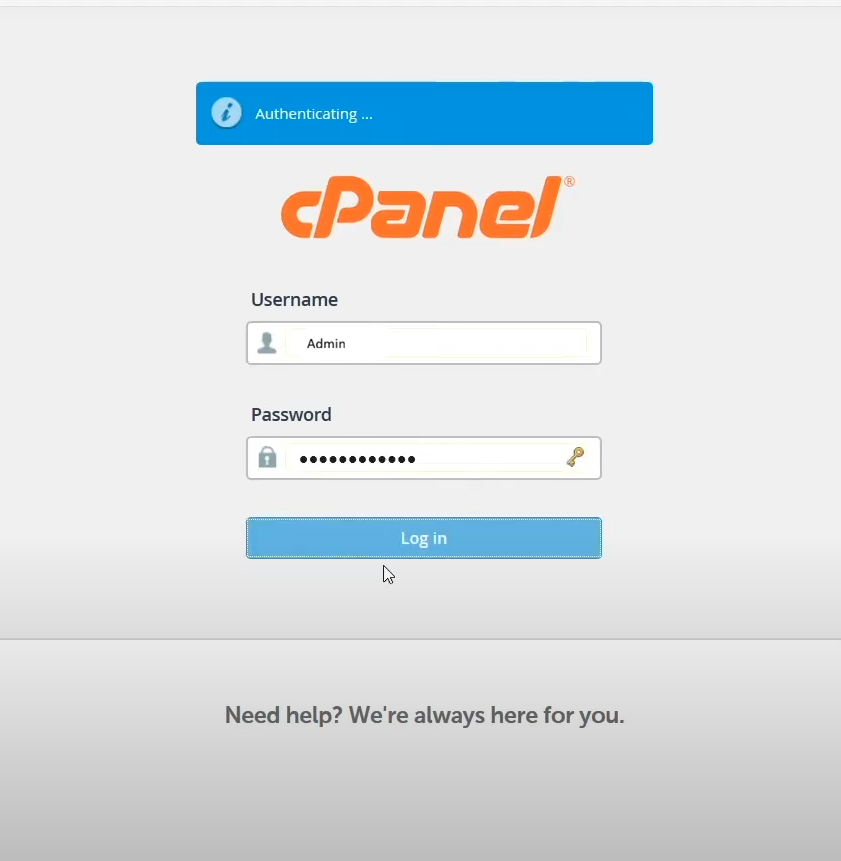
Step 3: Log into cPanel
Once your domain is pointed correctly, log into your hosting panel and open cPanel.
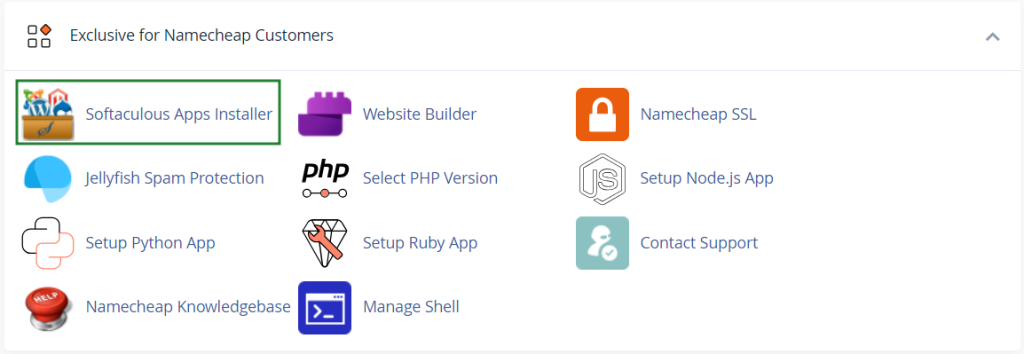
In cPanel, you’ll typically see tools like:
WordPress Manager
Softaculous Apps Installer
File Manager
MySQL Databases
SSL/TLS
Email Accounts
Step 4: Install WordPress on cPanel (1-click method)
Most cPanel environments include Softaculous or a WordPress manager.
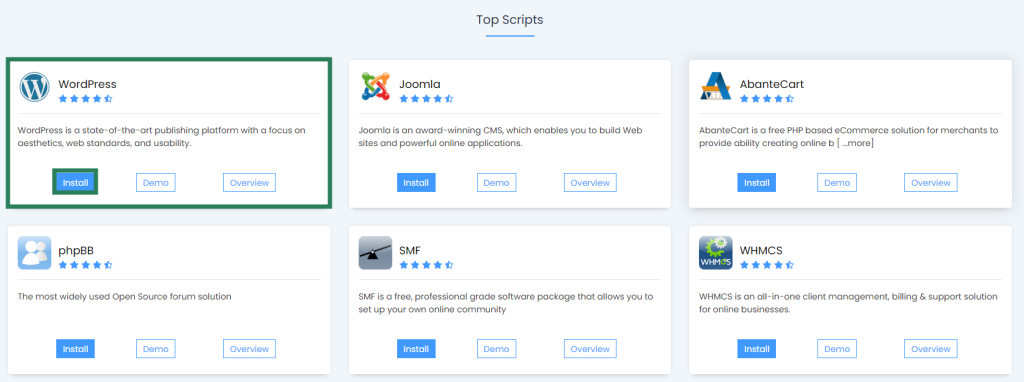
Method A: Install via Softaculous (recommended)
Open Softaculous Apps Installer
Choose WordPress
Click Install
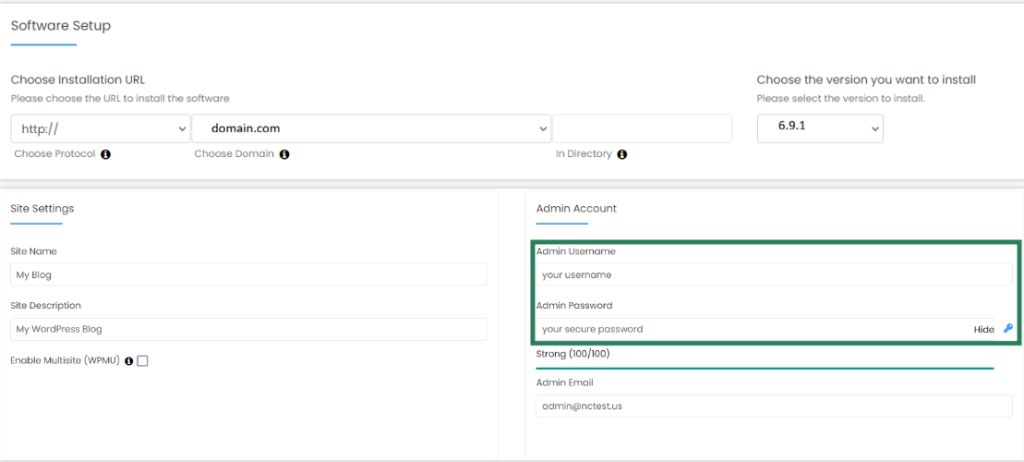
Choose the correct:
Domain (make sure you select the right one)
Protocol: choose
https://if SSL is ready (if not, choosehttp://now and we’ll switch later)
Site settings:
Site Name (e.g. “Your Business Name”)
Site Description (you can change later)
Admin account:
Avoid “admin” as username
Use a strong password
Use a real email you check
Click Install
When done, Softaculous gives you:
Admin URL:
yourdomain.com/wp-adminUsername + password
Method B: WordPress Manager
If your cPanel has a dedicated WordPress Manager:
Open it
Select domain
Install WordPress
Create admin credentials
Confirm
Step 5: Enable SSL (HTTPS) properly
Even if you “installed WordPress,” you’re not finished until your site loads securely.
Check if SSL is available
In cPanel go to:
SSL/TLS Status or Let’s Encrypt (depends on host)
If SSL is active, your website should load:
✅
https://yourdomain.com
Force HTTPS (important)
Once SSL is active, you must ensure WordPress uses HTTPS:
In WordPress dashboard → Settings → General
WordPress Address (URL):
https://yourdomain.comSite Address (URL):
https://yourdomain.com
Then install a lightweight SSL helper only if needed (some hosts handle this automatically).
If you see “mixed content” (padlock issues), it usually means some images/scripts still load via HTTP.
Step 6: The 6 WordPress settings every small business must set
These are quick fixes that prevent 80% of beginner problems.
1) Permalinks (SEO-friendly URLs)
Go to Settings → Permalinks
Choose: Post name
This gives clean URLs like:
/services/
instead of/?p=123
2) Delete default content
Remove:
“Hello World” post
Sample page
Unused plugins/themes
3) Set your timezone + site language
Settings → General
Correct timezone
Correct date format
Site title / tagline
4) Install only essential plugins (don’t overload)
New WordPress users often install 25 plugins and then wonder why the site is slow.
Start with a minimal set:
SEO plugin (one only)
Security basics (one)
Backup solution (one)
Cache/performance (one)
Forms (one)
5) Create your core pages
For a small business, these are the “trust pages”:
Home
About
Services
Contact
Privacy Policy
Terms (optional but recommended)
6) Make sure Google can index your site
Go to Settings → Reading
Ensure “Discourage search engines from indexing” is unchecked (only check it while building, then uncheck at launch).
Step 7: Make it fast (without going technical)
Speed is not a luxury — it affects rankings and conversions.
Do these simple actions:
Use a lightweight theme (avoid bloated multipurpose themes)
Resize and compress images before uploading
Keep plugins minimal
Use caching (but don’t stack multiple cache plugins)
Rule: One caching solution, not three.
Step 8: Secure your new WordPress site (basic but effective)
Minimum security actions:
Strong admin password
Keep WordPress + plugins updated
Enable auto-updates for minor updates
Limit login attempts (or use security plugin that does it)
Backups (at least weekly; daily if your site changes often)
Launch Checklist (small business version)
Before you “announce” your website, do this:
✅ HTTPS works (padlock visible)
✅ Contact form tested (email arrives)
✅ Mobile view looks good
✅ Home page has clear CTA (call / email / book)
✅ Basic SEO: page titles + meta descriptions
✅ Install analytics (optional but recommended)
✅ Backup is active
Want the fastest path? (Done-for-you option)
If you don’t want to deal with DNS, SSL, WordPress settings, and “why is it not working?”…
I offer a clean setup for small businesses:
Domain + hosting (cPanel access)
SSL enabled
WordPress installed
Essential settings (permalinks, basic security, speed basics)
Start here: https://hosting.thewebdesigner.net/
FAQ (great for SEO)
How long does WordPress installation take?
The WordPress install itself can take minutes. The real time is usually DNS + SSL setup and getting the site ready to launch.
Should I use 1-click install or manual install?
For most small businesses, 1-click install is perfect and safer than a manual setup done incorrectly.
Why does my WordPress show “Not Secure”?
Usually SSL isn’t active yet, or WordPress is still set to http:// instead of https://.
Can I move my WordPress site later to different hosting?
Yes. WordPress can be migrated. The key is using a stable setup with backups.
Do I need cPanel hosting for
WordPress?
No — WordPress works on most Linux hosting. But cPanel makes it easier for beginners because you can manage domains, DNS, SSL, email, databases, and 1-click WordPress installs from one dashboard. If you want the simplest setup path, cPanel hosting is usually the smoothest option.
Can you set this up for me (domain + SSL + WordPress)?
Yes. I can handle the full setup: domain connection, cPanel hosting, SSL activation, WordPress installation, and essential launch settings (permalinks, basic security, speed basics). If you want it done fast and correctly, start here: https://hosting.thewebdesigner.net/